Welcome to Part Two of this series where we will be deploying the Office 365 Suite via Intune. In Part One we configured AutoPilot to automatically enroll our Windows 10 device into Intune as you can find that post here but now onto the deployment.








Logon to the Azure portal at https://portal.azure.com
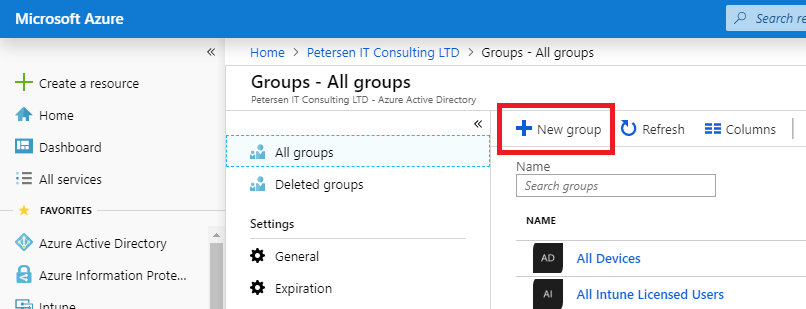
Open the Azure Active Directory Pane and then Groups
Select New group
In this example I’ll simply create a standard Security group with an Assigned Membership type, but this could be dynamic or a security group which is synchronised from Active Directory.
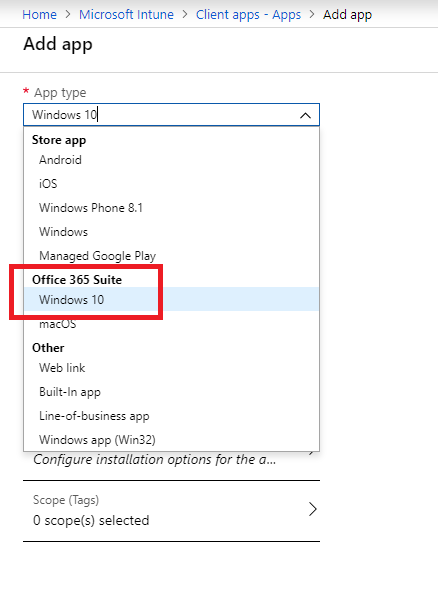
Now let’s create the deployment. Browse to Intune > Client Apps > Apps (https://portal.azure.com/#blade/Microsoft_Intune_Apps/MainMenu/1/selectedMenuItem/Overview) and click Add.
From the App type list Select Office 365 Suite / Windows 10 option.
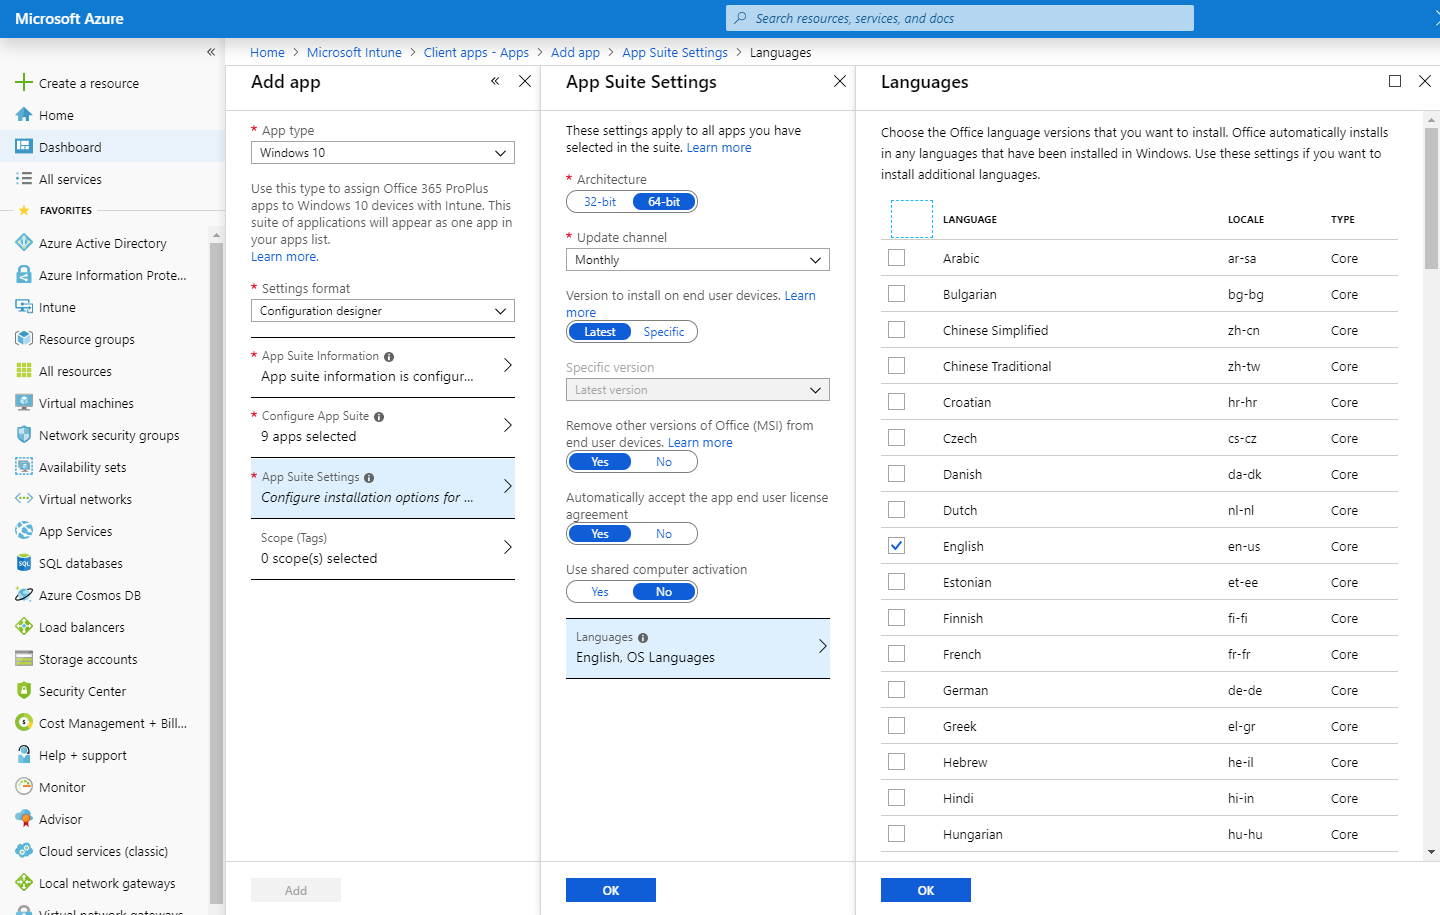
Enter the required configuraiton
Configure the applications required
Configure the App Suite Settings
Once all the options are configured you can then select Add and you will be presented with the App Overview
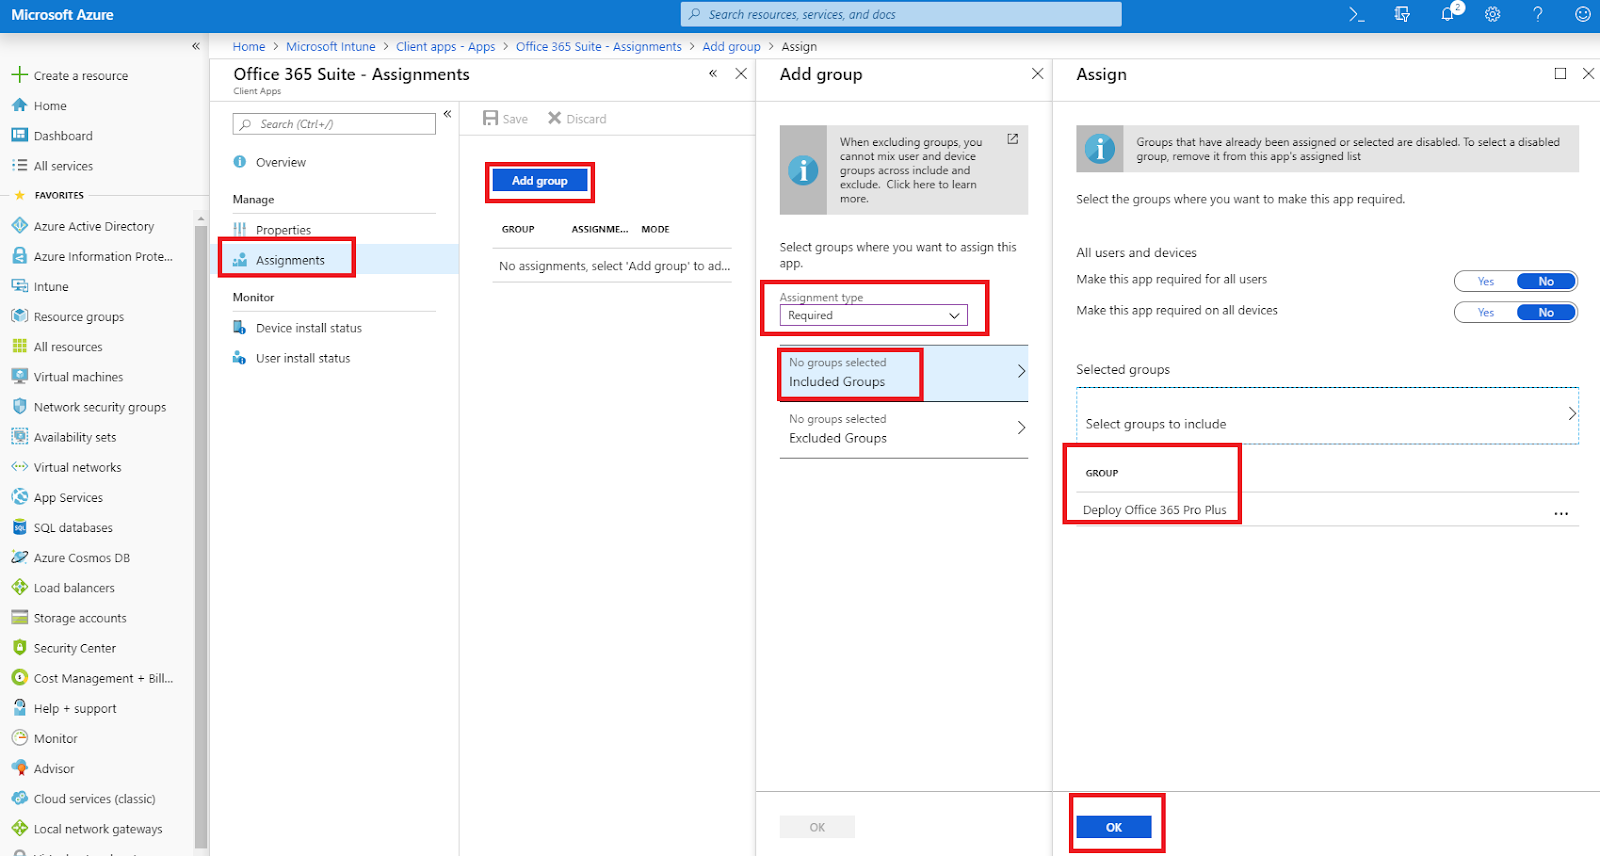
Now let’s assign our application, select Assignments, Add group, configure the Assignment type, add the Group you created earlier and then select OK
Now let’s see this process work. Logon to an Intune enrolled device as a user that is a member of the group to which you assigned the application. (I’m using the AutoPilot demo machine we configured in Part One.)
After a few minutes, you’ll start to see the Office suite silently downloading, you’ll see the temp files in C:\Windows\temp)
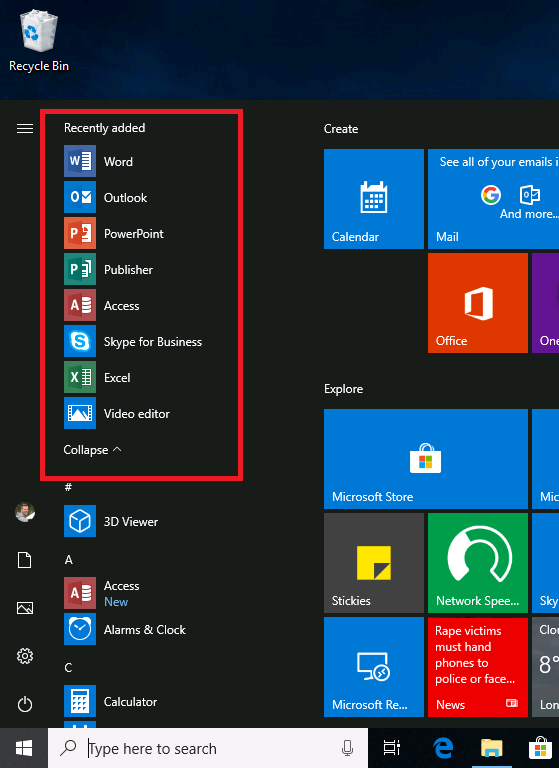
Once complete you’ll see the applications populating the Start Menu
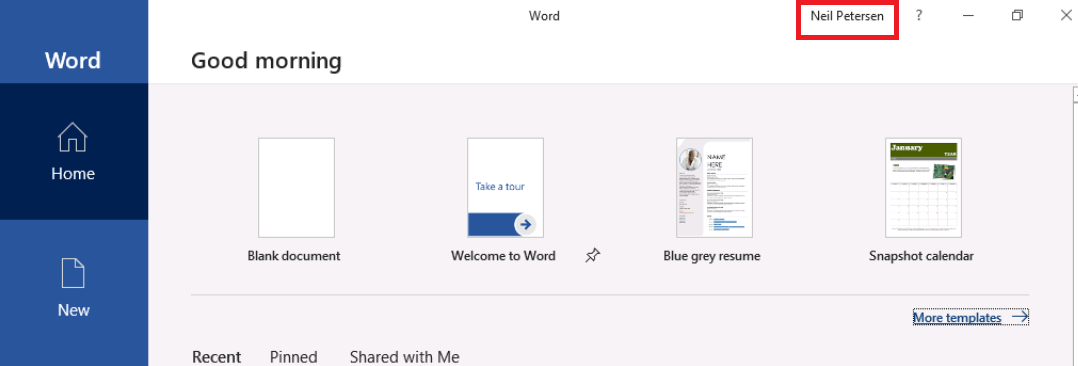
Opening Word you’ll see it will automatically sign you into Office
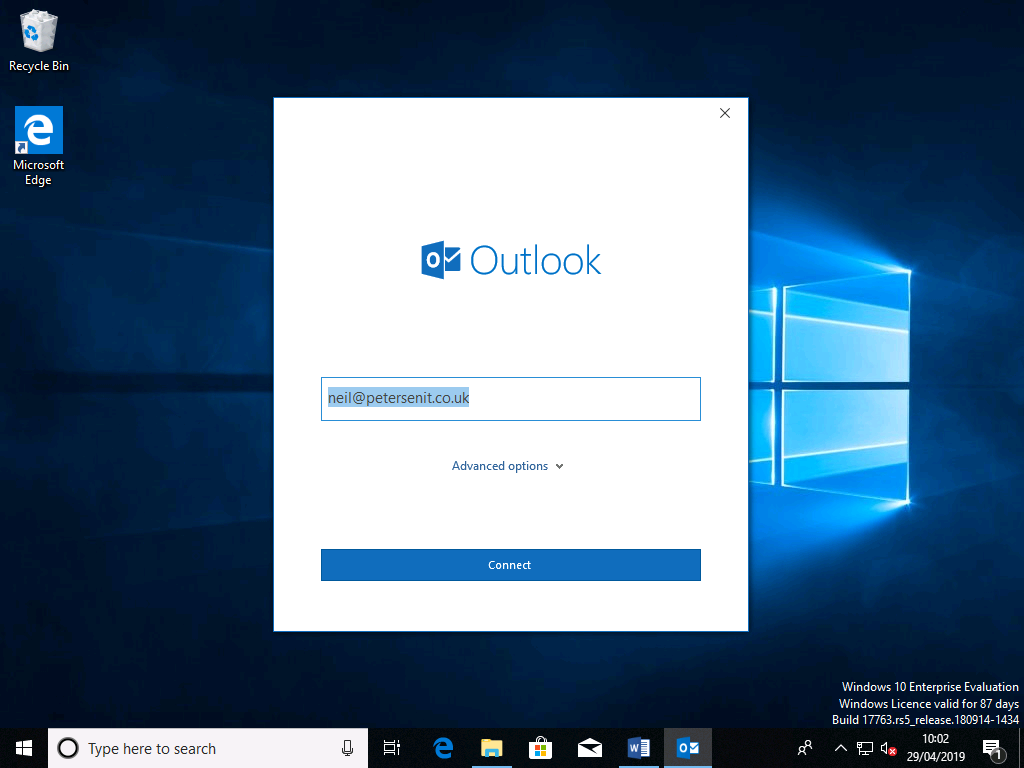
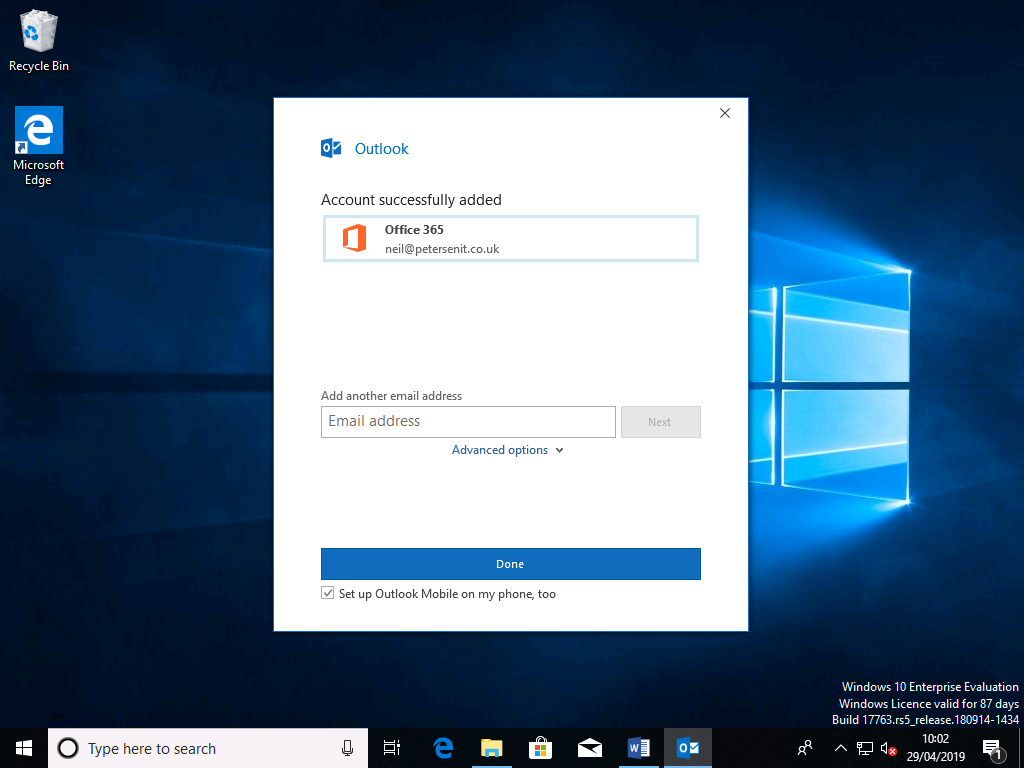
Opening Outlook you’ll see it will automatically detect and create the user profile.
And there we have it, Office 365 deployed to an intune enrolled device.
In Part Three we’ll start to take a look at Custom Win32 applications.

Comments
Post a Comment